Introduction:
For individuals managing diabetes, proper storage of insulin is crucial to maintaining its effectiveness. Whether you're heading to school, work, or spending time outdoors, an insulin cooler bag can be a lifesaver, ensuring that your insulin stays at the right temperature. In this guide, we'll walk you through simple steps on how to use an insulin cooler bag effectively.

Step 1: Choose the Right Insulin Cooler Bag
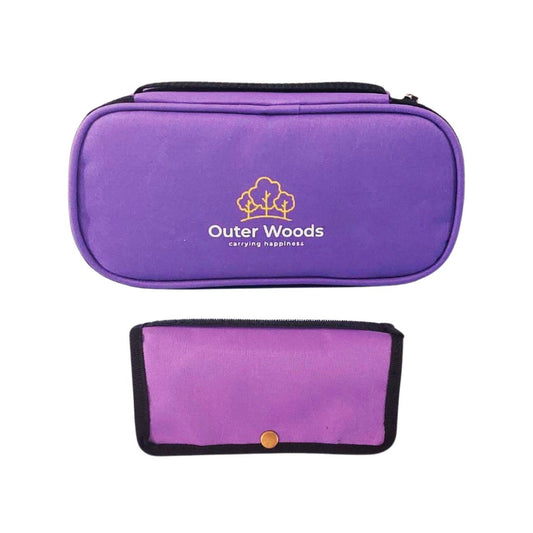
Selecting the right insulin cooler bag is the first and most crucial step. Look for a bag that is specifically designed for insulin storage and transportation. Insulin cooler bags are equipped with thermal insulation to keep your insulin within the recommended temperature range, typically between 2°C to 8°C (36°F to 46°F).

Step 2: Prepare the Cooler Bag
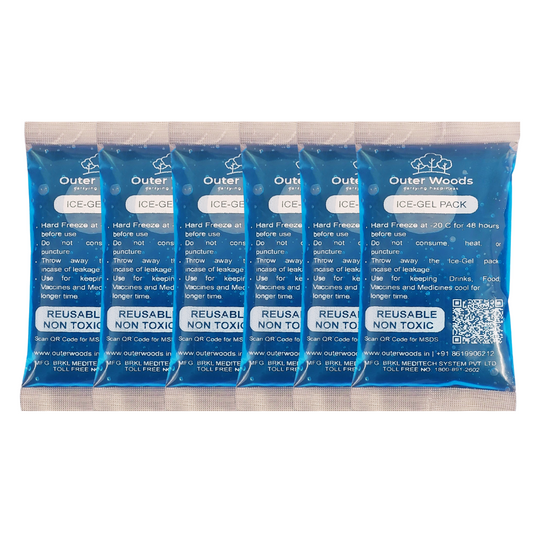
Before placing your insulin in the cooler bag, make sure it's clean and dry. Inspect the bag for any damages, and ensure that the cooling elements are in good condition. Many insulin cooler bags come with gel packs or ice packs; if so, freeze them in advance.

Step 3: Organize Your Insulin Supplies
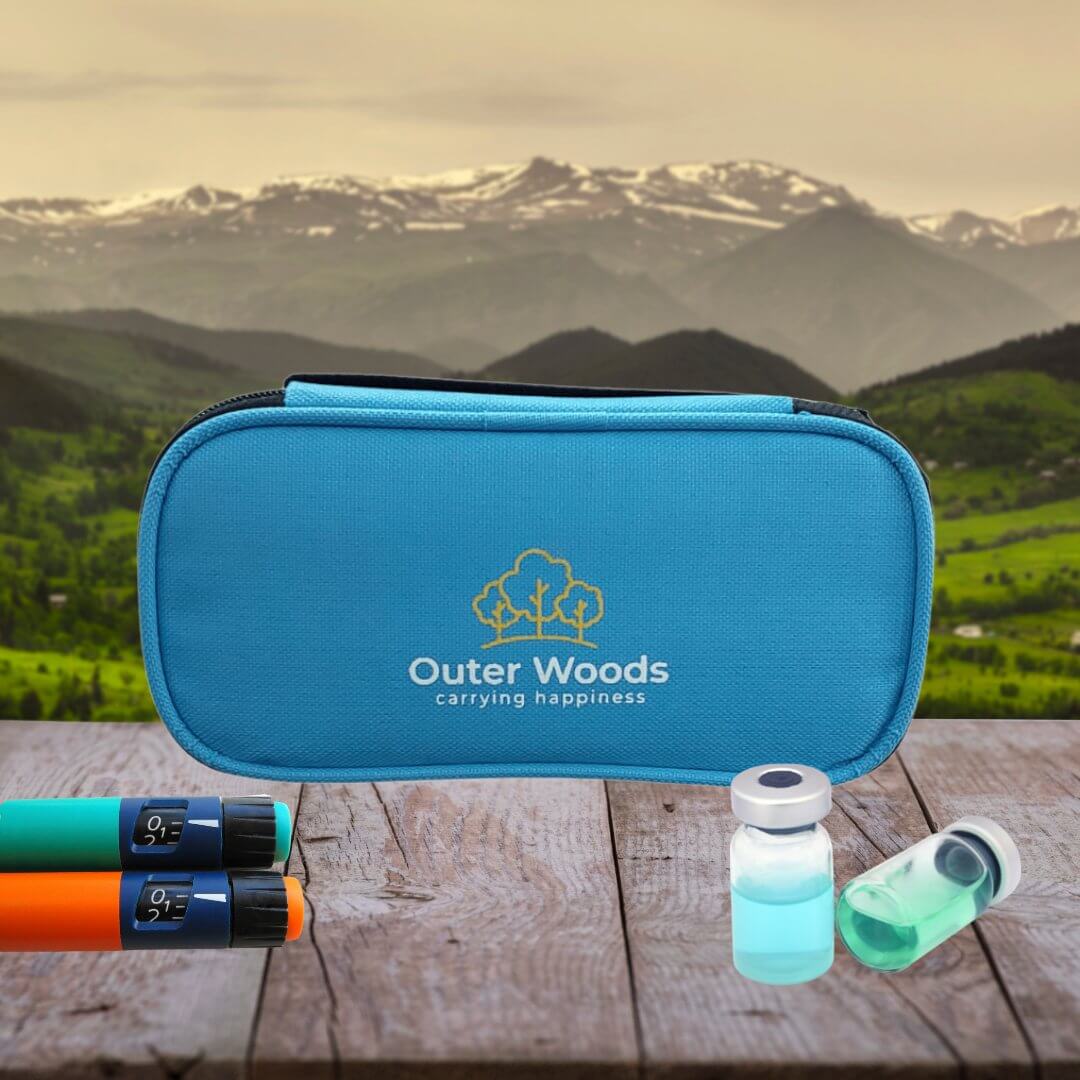
Organize your insulin supplies before placing them in the cooler bag. Ensure you have enough insulin for the day and any necessary accessories like syringes, pen needles, or testing supplies. This will help you keep everything in one place and easily accessible when needed.

Step 4: Insert Insulin and Cooling Elements
Place your insulin vials or pens securely inside the insulin cooler bag. If your bag has designated pockets or compartments, use them to keep things organized. Insert the frozen gel packs or ice packs provided with the bag to maintain the desired temperature.

Step 5: Check the Temperature
Most insulin cooler bags come with a built-in thermometer or temperature indicator. Check this regularly to ensure that the temperature inside the bag remains within the recommended range. If your bag doesn't have a built-in thermometer, consider purchasing a separate thermometer to monitor the temperature.

Step 6: Securely Close the Cooler Bag
Once your insulin and cooling elements are in place, securely close the cooler bag. Double-check that the bag is properly sealed to prevent any temperature fluctuations. This step is crucial, especially when you're on the move.
Step 7: Carry the Cooler Bag Properly
Whether you're heading to school, work, or outdoors, carry your insulin cooler bag in a way that minimizes exposure to extreme temperatures. Avoid placing it in direct sunlight or near sources of heat. Consider using an additional layer, like an insulated lunch bag, for added protection.
Conclusion:
Using an insulin cooler bag is a simple yet effective way to ensure that your insulin remains safe and potent while you're on the go. By following these easy steps, you can confidently manage your diabetes without worrying about temperature fluctuations affecting your insulin supply. Remember, consistency and proper planning are key to successfully incorporating an insulin cooler bag into your daily routine.